

Get quote
Get Free Consultation!
We are ready to answer right now! free consultation.
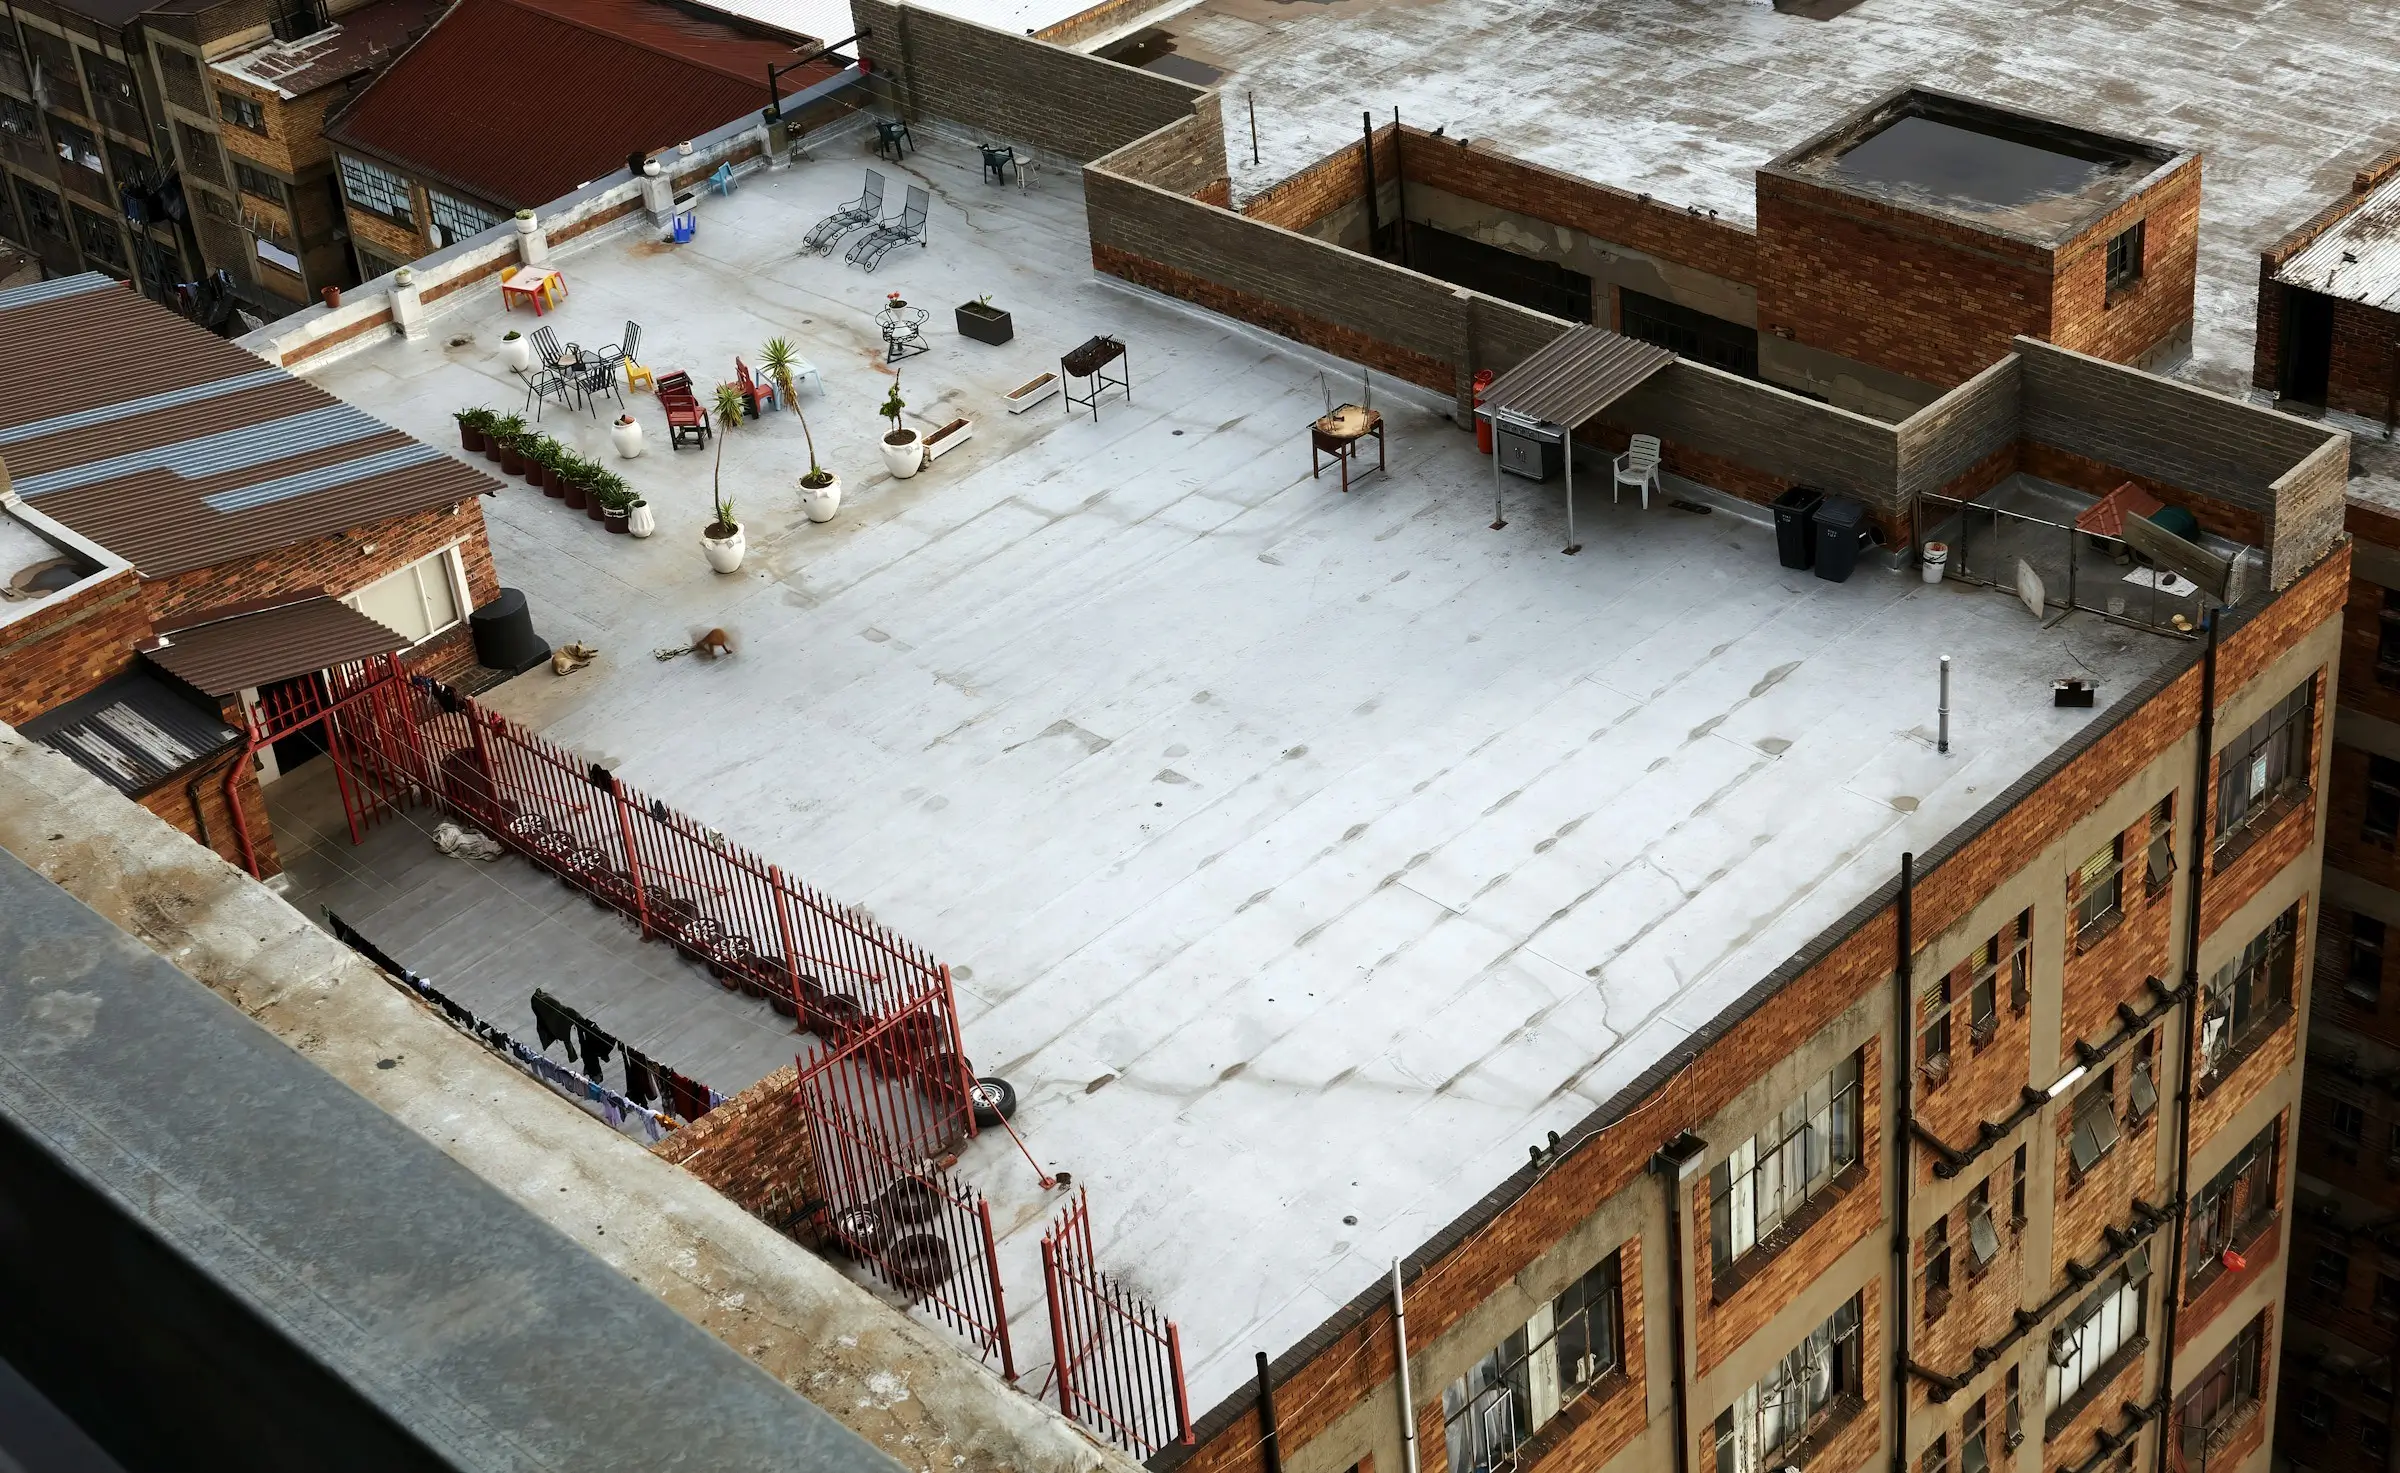
Low slope roofing in Toronto should be explained by following one drop of water from the high point to an outlet or edge. Along that path it crosses a continuous roof field, passes penetrations, approaches perimeters or wall transitions and may enter a zone affected by debris or surface variation. The correct material, repair boundary and maintenance plan all depend on that path—not on calling the roof “almost flat.”
King Roofing & Construction inspects, maintains, repairs and replaces flat and low-slope roofs for residential and commercial properties. The site verifies drainage, flashing and penetration services but does not name proprietary systems. The actual roof material and compatible work should be identified during inspection and in the project proposal.
Begin at each drain, scupper or roof edge. Outline the surface that feeds it and mark high points, changes in level, penetrations and perimeters. A large building may contain several zones that behave independently. A residential addition may have one small zone that connects to a wall or steep shingle roof.
The surface should be compatible with the substrate and details. Visible material condition needs context from surrounding areas.
Each opening needs a complete transition. The route can change around equipment or close details.
Perimeters turn or terminate the system. A steep-to-low-slope junction can add runoff from another roof.
Debris and component condition affect the receiving path. Maintenance and repair should remain distinct.
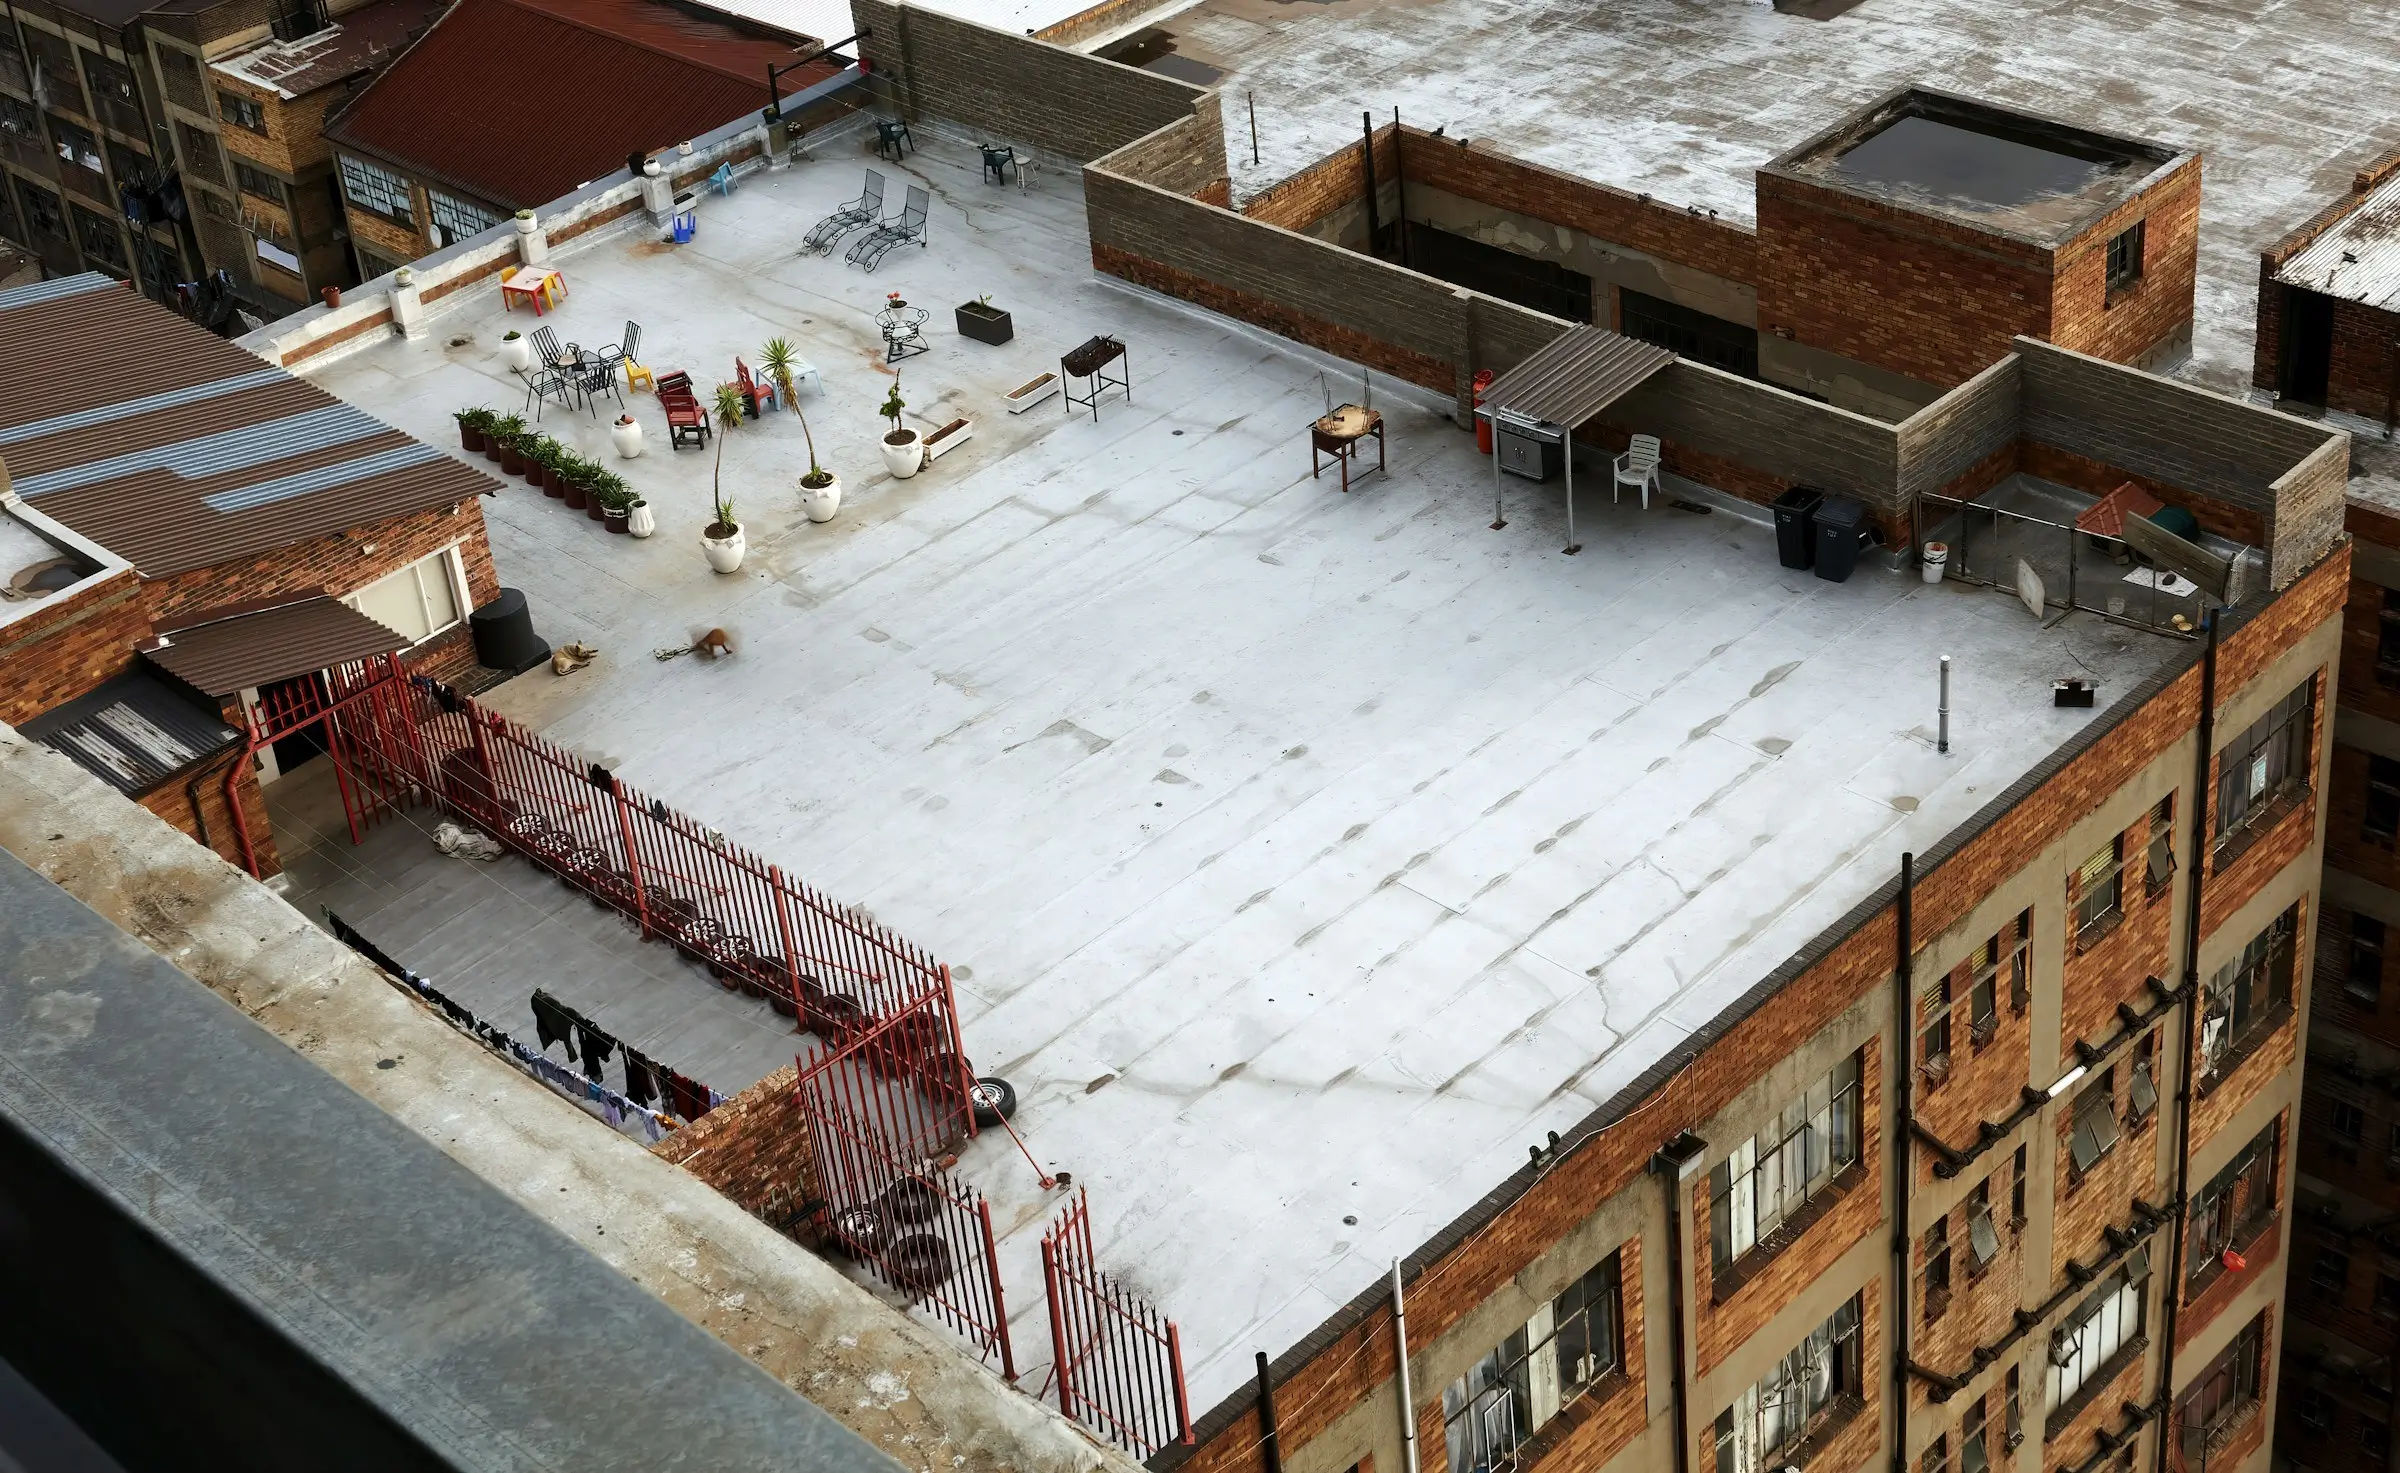
Asphalt shingles depend on sufficient slope and overlapping courses to shed water. A flat or very shallow section requires a system suited to slower movement and continuous coverage. The contractor should confirm the geometry and select the system accordingly rather than extending a main-roof shingle choice onto an addition for appearance.
Where the systems meet, the transition should explain how runoff from the steep slope enters, bypasses or terminates above the low-slope surface. Both materials and the wall or roof geometry belong in the review.
A photo during rain proves the surface is wet. A photo taken later can show whether water remains. Record when the image was taken relative to the weather and label the drainage zone. Do not access the roof without authorization, safe conditions and appropriate controls.
| Observation | Useful context | What remains to be assessed |
|---|---|---|
| Water during rain | Zone, outlet and event intensity | Normal active flow versus obstruction or surface issue |
| Water shortly after rain | Elapsed time and outlet condition | Whether drainage is still progressing |
| Water remains much later | Depth/extent only if safely observed, plus exact zone | Geometry, outlet, surface and detail contributions |
| Interior mark after weather | Room position and timing | Roof route versus another building source |
A penetration is not one visible seam. Roofing turns around all sides and may meet a curb, support or pipe. The inspection should evaluate the complete detail and the field surrounding it. If equipment blocks access, coordinate with its owner instead of applying a partial treatment and calling the penetration complete.
Access conflict: Water is observed near a commercial penetration, but equipment prevents treatment on one side. The property manager identifies the responsible equipment contact. The roofing scope then includes coordination or clearly states that the complete detail cannot be restored within the proposed access.
Clear debris from known outlets and water paths using qualified, authorized personnel. Inspect visible perimeters and penetrations according to the building’s plan. Maintenance does not repair an open detail or change surface geometry, and a repair does not eliminate future debris management.
Record each visit by zone. A pattern of repeated work at one outlet may support a complete-detail review, while unrelated observations in separate zones should not be merged without evidence.
A local repair can be appropriate when the condition is defined and surrounding material can accept the work. The scope should identify preparation, integration area, penetration or perimeter detail and the zone served. If surrounding condition prevents a reliable tie-in, explain why the boundary expands.
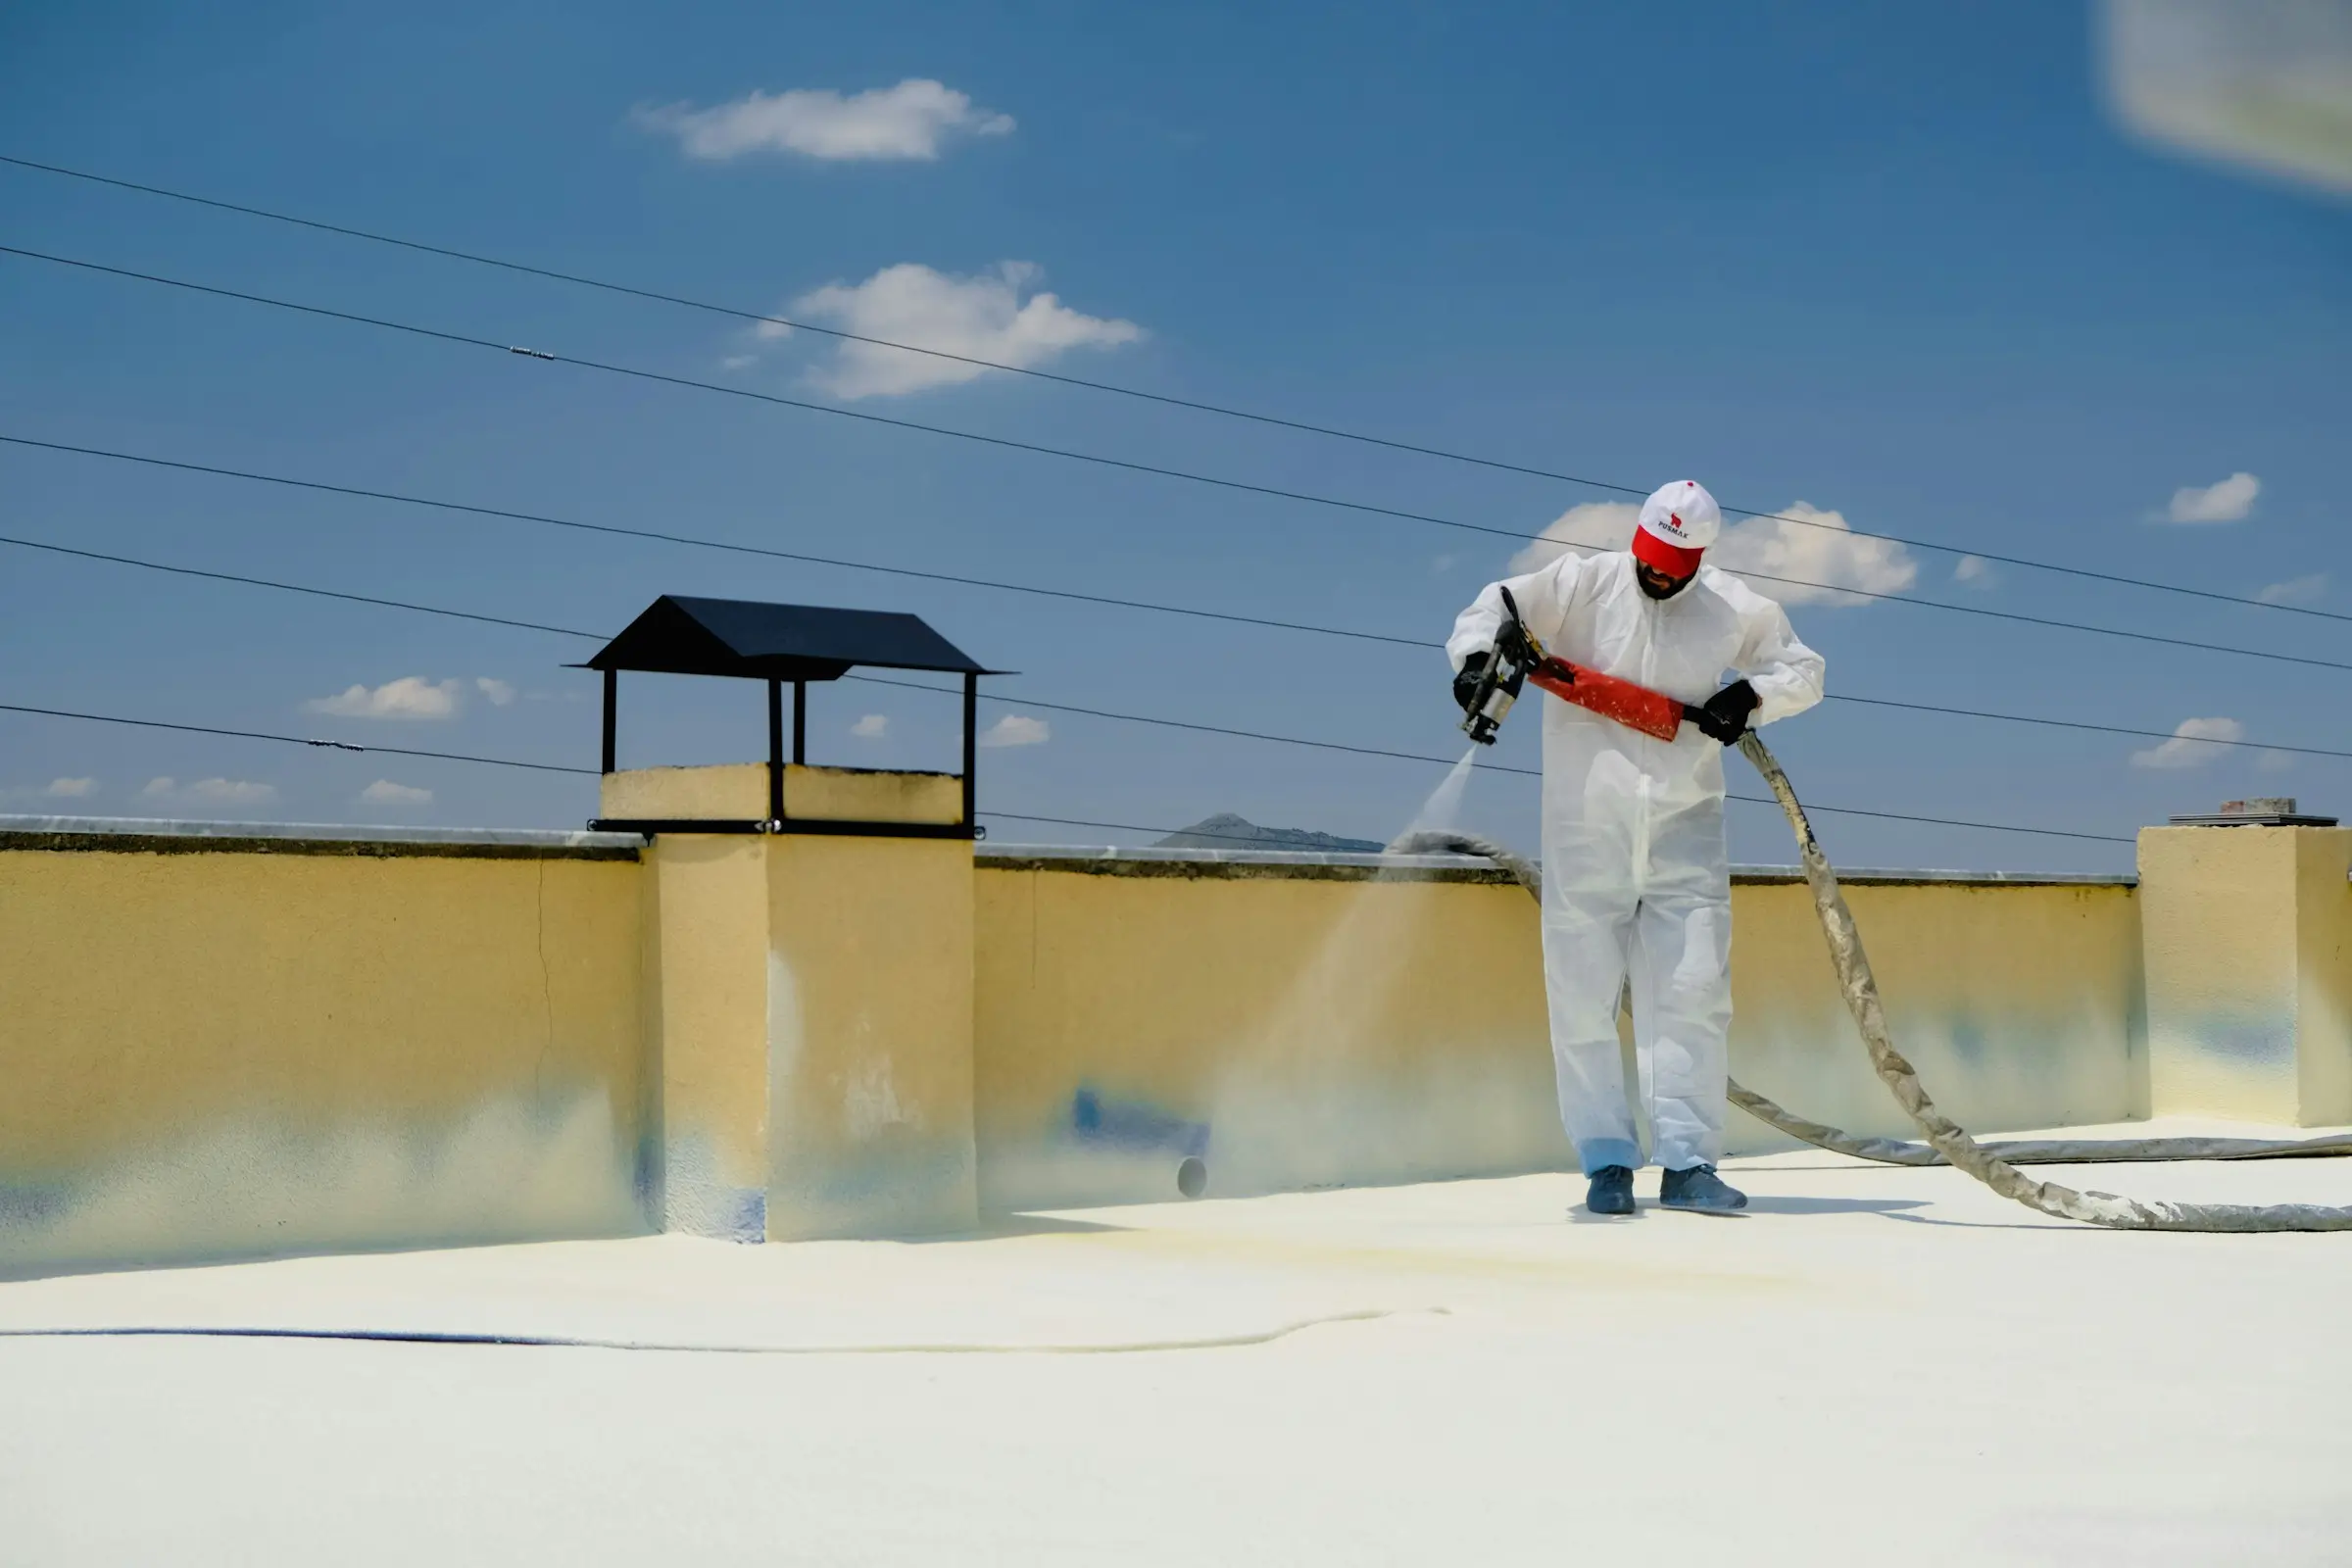
Surface coating should not be treated as a universal cure for poor drainage, incompatible material or an incomplete wall transition. The proposal should identify the existing system, preparation and actual product offered. King Roofing’s public pages do not provide those specifications, so they need to appear in the project documents.
Snow and ice can hide outlets or slow the route as temperatures change. Do not send property staff onto an icy roof to clear or document it without appropriate procedures. Note interior timing and use qualified assessment when safe access becomes possible.
A thaw-related symptom can involve roof drainage, a penetration, perimeter, condensation or another building source. Map the event but keep alternate paths open until evidence connects them. Safety and accurate uncertainty are more useful than a fast diagnosis.
If repairs recur or the surface cannot support integration, compare replacement on the existing zone map. Determine whether one drainage zone, several connected zones or the full roof forms the coherent boundary. Show all retained transitions and keep outlets functional during the sequence.
For an occupied property, connect zones to rooms, tenants and entrances below. Larger work changes access, notices and weather protection. The roof decision and building-operations plan should share the same location labels.
Store the zone map, existing-system description, approved material, details, changes and completion photos. Label outlets, penetrations, perimeters and retained transitions. A future observation can then be located without guessing which earlier work covered the area.
The first condition-led maintenance visit can use this baseline. Record what is visible without claiming knowledge of concealed layers. If another trade adds or changes equipment, update the penetration and access information.
Draw the main shingle slope, the low-slope addition and the wall or roof connection between them. Show where runoff from the upper roof goes and which outlet or edge drains the addition. If a valley or downspout discharges near the low-slope surface, include it in the water-path discussion.
When repair or replacement affects only one system, state how the junction is integrated and which area remains. A homeowner should not assume that main-roof work renews the addition or that flat-roof work includes the shingles above.
Use outlets, perimeters, units, column lines or fixed equipment as stable landmarks. Connect each roof zone to occupied spaces and the authorized access route. An invoice that says “north roof patch” may be unclear if staff use a different orientation; a marked plan resolves the location.
Record equipment ownership beside penetrations and supports. If access requires another trade, include that coordination in the project. Later maintenance can update contacts without losing the roof history.
At walls and edges, roofing turns up, terminates or transitions to another exterior component. A surface-only review can miss these boundaries. Identify parapets, building walls, edge metal, siding or other finishes and clarify where roofing responsibility ends.
Water seen near a perimeter may come from the surface, the vertical detail, an opening above or an unrelated building source. The inspection should test the route. If exterior cladding needs access for flashing, name who restores it.
Before comparing proposed products, establish the current surface, substrate and retained details as far as inspection allows. Ask how each option is prepared and joined at outlets, penetrations and perimeters. A material that suits one system may not be a direct substitute on another.
Do not infer product specifications, lifespan or warranty from a generic category. King Roofing’s public pages do not provide them. The proposal and manufacturer documents for the selected project should supply the verifiable information.
Material staging, removed debris and temporary protection should not block active outlets. When one zone is opened, identify protected stopping points and how adjacent zones continue to drain. On an occupied building, the manager should receive updates tied to those zones.
If weather interrupts the work, document the status and temporary measures. Permanent completion should later replace or resolve temporary protection according to the approved system; it should not disappear from the record.
Opening a low-slope roof can reveal substrate or moisture conditions not visible before work. Record the exact zone, provide context and detail images, and explain how the finding affects preparation, integration or scope. The authorized owner or manager should approve revisions.
A discovery at one penetration may not justify replacing an unrelated zone. A condition distributed beneath a connected surface may change the boundary. The contractor should show that relationship instead of relying on an open-ended allowance.
After normal rain or thawing, authorized observers can record whether water remains and how long after the event. Do not create artificial tests or access unsafe roofs. One context photo should show the exit and surrounding zone; a detail can show the specific surface.
Compare later observations with the as-built record. A new wet area in another zone is not automatically a repeat. Water near the same treated detail deserves prompt review with the original scope and event timing available.
When a roof has more than one exit, do not transfer an observation from one zone to another. The east outlet may drain normally while a west perimeter retains water, and the two areas may contain different penetrations or histories. Separate records allow the contractor to decide whether they are connected.
Interior mapping is equally important. A ceiling mark may sit below one zone but water can travel before appearing. Use rooms, units or fixed columns to locate it, then inspect plausible exterior routes. Keep plumbing, condensation and other sources in consideration until the evidence supports roof entry.
After repair, do not create an artificial flood test without a project-specific professional plan. Normal weather observations, labelled by time and place, protect the building from unnecessary exposure. If the treated area remains concealed by snow or inaccessible conditions, record the limit and wait for safe review.
A low-slope roof is also sensitive to later changes. New equipment, solar components, wall work or altered drainage can create penetrations and traffic routes not present in the original record. Update the map and arrange appropriate roof coordination before those changes are installed.
Low slope roofing Toronto projects become easier to understand when every surface and detail is connected to an outlet or edge. That path determines inspection zones, maintenance, repair integration and replacement boundaries. The label “flat” should never replace the drainage map.
For property-type differences, read the Toronto flat roofing comparison. Repair boundaries are covered in the drainage-zone repair guide, while the replacement history article explains broader renewal. Mixed-roof additions can also use the Toronto installation handoff.

