

Get quote
Get Free Consultation!
We are ready to answer right now! free consultation.

Roof installation in Toronto for an addition or changed roofline begins before roofing material arrives. Confirm the approved geometry, slopes, deck readiness, wall heights, penetrations, eaves, ventilation route and drainage exits. Then select asphalt shingles for suitable sloped areas and a flat-roof system for low-slope sections. The roofing handoff should name every junction with existing construction and every responsibility shared with framing, siding, mechanical or drainage work.
King Roofing & Construction installs asphalt-shingle and flat roof systems for residential and commercial properties in Toronto and surrounding areas. Its published service details include underlayment, flashing, valleys, penetrations, eaves, gutters and ventilation. The site does not publish engineering or design services, fixed product specifications or permit responsibility, so those roles must be established for the actual project.
New roofing depends on work completed by others. The deck, slope, openings, walls and edges must match the approved project. Before installation, the contractor and project lead should identify drawings or instructions that govern the roof and confirm who resolves a mismatch. Roofing should not be expected to conceal an unresolved geometry or drainage conflict.
Confirm slopes, valleys, ridges, hips, low-slope zones and connection points to the existing building.
Confirm the surface is ready for the specified system and that known openings or changes are resolved before underlayment or membrane covers them.
Locate plumbing, exhaust, mechanical and other openings and identify which trade owns each component.
Coordinate wall flashing, siding access, soffit, fascia and ventilation paths at roof boundaries.
Confirm gutters, downspouts, outlets or edges and where water goes after it leaves the new roof.
Asphalt shingles shed water through overlapping courses on suitable sloped assemblies. Flat and low-slope roofs manage water across a continuous surface toward outlets or edges. An addition may include both. The roof plan should state which system belongs to each plane and how they meet.
| New roof area | Installation focus | Coordination point |
|---|---|---|
| Sloped shingle plane | Deck, underlayment, course layout, fastening and edges | Ridge, valley, wall, penetration and eave geometry |
| Flat or low-slope area | Compatible continuous system, preparation and drainage | Outlets, perimeters, penetrations and transitions |
| Shingle-to-flat junction | Water movement from the steep area into or away from the low-slope area | Approved transition detail and installation sequence |
| Roof-to-wall junction | Flashing that returns water to the roof surface | Siding, masonry or cladding access and restoration |
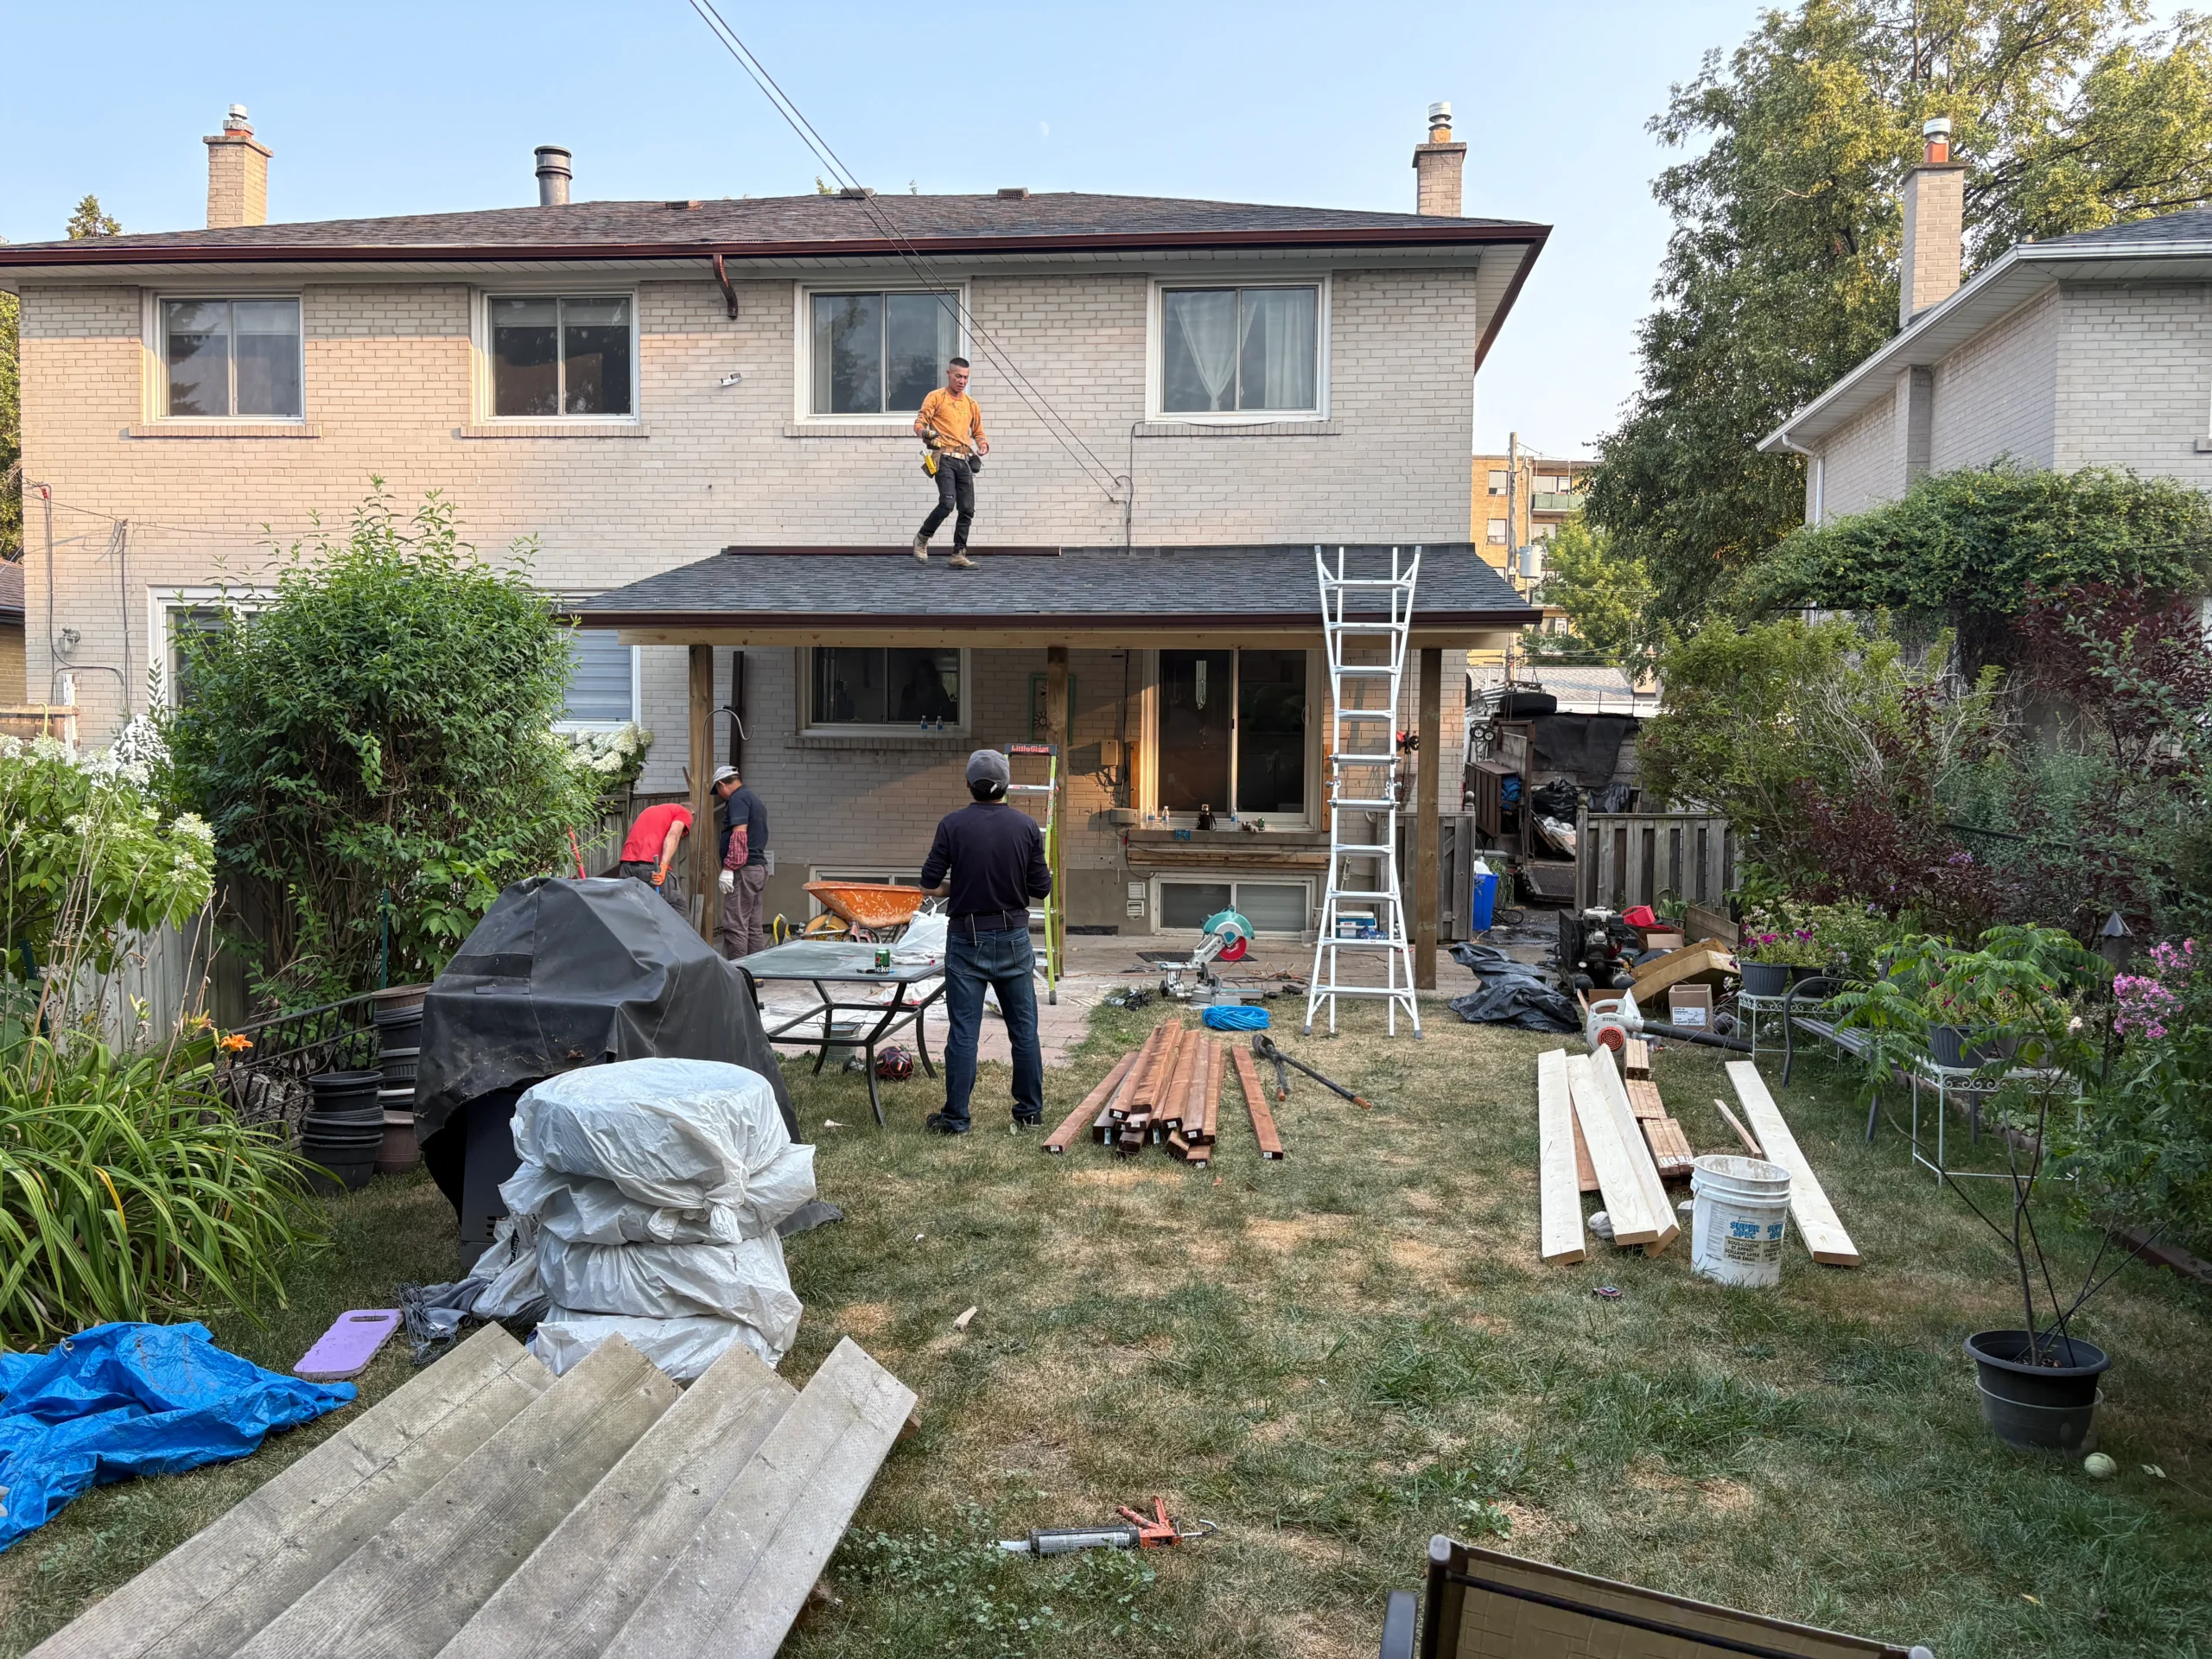
An addition can meet an original wall, extend an existing slope, create a valley or sit below the main eave. Each condition changes the flashing and water route. The project team should identify who prepares the wall, who provides access behind siding or cladding, and how the completed junction is inspected before it becomes difficult to see.
Do not use “tie into existing roof” as the only line. Mark the length and location, the systems on both sides, demolition assumptions and responsibility for retained materials. If the existing roof condition prevents the planned integration, use an evidence-and-approval process rather than improvising an undocumented extension.
Addition conflict: Framing creates a shallower roof than the early concept, while the material list assumes shingles. Before installation, the project team confirms the actual slope and approved system. The roofing contractor should not install a sloped-roof finish on a condition that requires a different low-slope solution.
Late movement of plumbing vents, exhausts or equipment openings can force completed roofing to be cut and redetailed. Coordinate locations, heights and ownership before the relevant roof area is installed. The roofing scope should describe the flashing detail around the known penetration; the mechanical or plumbing trade remains responsible for its own system.
If a penetration moves after roofing begins, document the change and affected roof area. Confirm how the abandoned opening is restored and how the new opening is integrated. Avoid treating surface sealant as the complete answer to a coordination change.
An addition can create a separate attic, connect to the original space or introduce vaulted areas. Roof exhaust components and soffit intake need to relate to that configuration. A row of vents selected without understanding the air path is not a ventilation plan.
Natural Resources Canada explains that attic performance also involves air leakage and insulation. The roofing installer should identify the roof ventilation components within scope and coordinate their locations. Other envelope work should remain visible as a separate responsibility rather than being promised through roofing alone.
Calculate or design drainage through the appropriate project process, then make the physical route clear. On a sloped roof, valleys and eaves deliver water to gutters and downspouts. On a flat roof, surface geometry feeds outlets or edges. The installation handoff should confirm where those components are located and who provides them.
Water does not stop being a project concern at the roof edge. Downspout discharge and site drainage should follow Toronto requirements and the approved property plan. If a new addition changes where roof water lands, confirm that route before installing an eave condition that has nowhere suitable to drain.
Create inspection or documentation points at deck readiness, underlayment or flat-roof preparation, valleys, wall transitions, penetrations and drainage details. The exact review responsibility depends on the project and any permit or design requirements. The roofing record should at least label representative locations and approved changes.
A hold point should not become a delay with no decision owner. Name who reviews, what document governs and how acceptance is recorded. If a detail conflicts with the approved plan, pause that area and resolve it before the finish hides the problem.
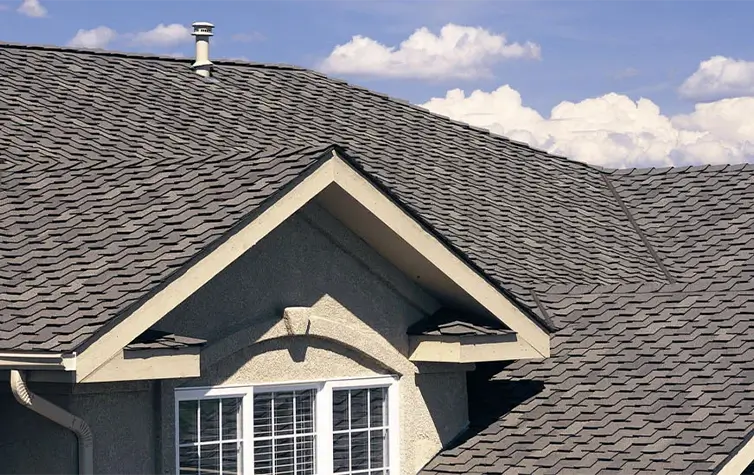
A new addition or altered roofline can differ materially from straightforward roof-covering replacement. Check City of Toronto permit guidance and the approved project documents for the actual work. Structural framing, drainage or building-envelope changes may require design and inspection beyond the roofer’s installation scope.
The contract should identify who obtains approvals and supplies governing details. Do not infer that roofing service includes engineering, permit application or another trade unless it is written. Installation quality depends on having a valid, buildable substrate and coordinated details.
An addition site may already contain framing crews, exterior trades and material routes. Coordinate access so the roofing crew can work safely and the finished roof is not damaged by later activity. Identify temporary edges, scaffold interfaces, delivery zones and the point when responsibility for the completed surface transfers.
Weather protection between trades should have a named owner. If the roofing work is phased, clarify which areas are temporarily protected and which are complete. The homeowner or project manager should receive updates by roof area rather than a broad statement that the roof is underway.
At completion, review every new slope or flat zone, existing-to-new junction, valley, wall, penetration, eave, ventilation component and drainage exit. Store approved product information, hold-point records, changes and completion images. Identify retained existing roof areas separately.
The first maintenance plan can use those same labels. A future observation at the addition wall, north outlet or new valley can be reported without confusion. The handover should also preserve any separate responsibility for siding, mechanical or site-drainage work that remains.
The roof installer finishes the water-shedding surface at the eave, while gutters receive that flow and fascia or soffit can sit beside the detail. Confirm which contractor handles each component, when gutters are installed and how the roofing edge remains accessible. A valley that ends at a short gutter section deserves particular coordination because it concentrates runoff.
Trace downspouts into the approved property drainage route. An addition can increase or redirect runoff, so the old discharge assumption may no longer fit. Toronto municipal guidance and the project’s drainage design should govern changes; roofing work should not send water to an improvised location.
Material ordering should follow the confirmed slopes, roof areas, penetrations and details. For shingles, retain the actual product, colour and related component documents. For flat or low-slope work, identify the surface system, preparation and detail materials. A broad allowance should be resolved before installation whenever selection affects junctions or schedule.
If a product substitution is proposed, compare compatibility, appearance where relevant, installation requirements and related components. Document approval and update the as-built record. The King Roofing website does not publish standard product packages, so no article-based brand assumption should replace the project schedule.
Closely spaced homes, semi-detached buildings and additions near property boundaries can limit staging and access. Identify where scaffolding, ladders, material or removed debris can legally and safely go. The homeowner or project manager should resolve necessary permissions rather than expecting the roofing crew to improvise on the start day.
Shared walls and adjoining rooflines also deserve technical coordination. The new work should identify its boundary and avoid implying that a neighbour’s roof or exterior finish is included. Where a junction is shared or concealed, use the approved design and document the completed location.
Changes can involve penetration location, wall height, deck condition, slope, drainage or material. Record the date, governing roof area, reason, approval and effect on adjacent details. A photo alone does not show whether the change was authorized or how it connects to the rest of the installation.
Use the log during handover to confirm that final documents reflect the built condition. If a vent moved, show the restored original opening and new penetration. If drainage changed, update the outlet or gutter map. If a wall transition shifted, revise the length and siding interface.
The project lead should compare roof areas with approved documents and change records. Confirm that hold-point evidence corresponds to the correct valleys, walls, penetrations and low-slope zones. Review visible finish, edges and drainage components without treating a single attractive roof view as proof of every concealed detail.
Open coordination items should be listed by responsible party. Roofing can be complete while separate siding restoration, equipment work or site drainage remains; the handover should say so clearly. The owner then knows which system has transferred and what work is still outside the roofing boundary.
Roof installation Toronto projects work best when slope, deck, junctions, penetrations, ventilation and drainage are resolved before they disappear beneath the finish. The roofer installs a system on prepared construction; the project team makes sure every adjacent trade and approval supports that system.
Clear handoff points make that coordination durable.
For sloped assemblies, continue with the asphalt shingle system guide. Additions with shallow sections can use the low-slope water movement article. Existing homes planning renewal can compare residential replacement boundaries and the verified King Roofing roof-system services.

