

Get quote
Get Free Consultation!
We are ready to answer right now! free consultation.
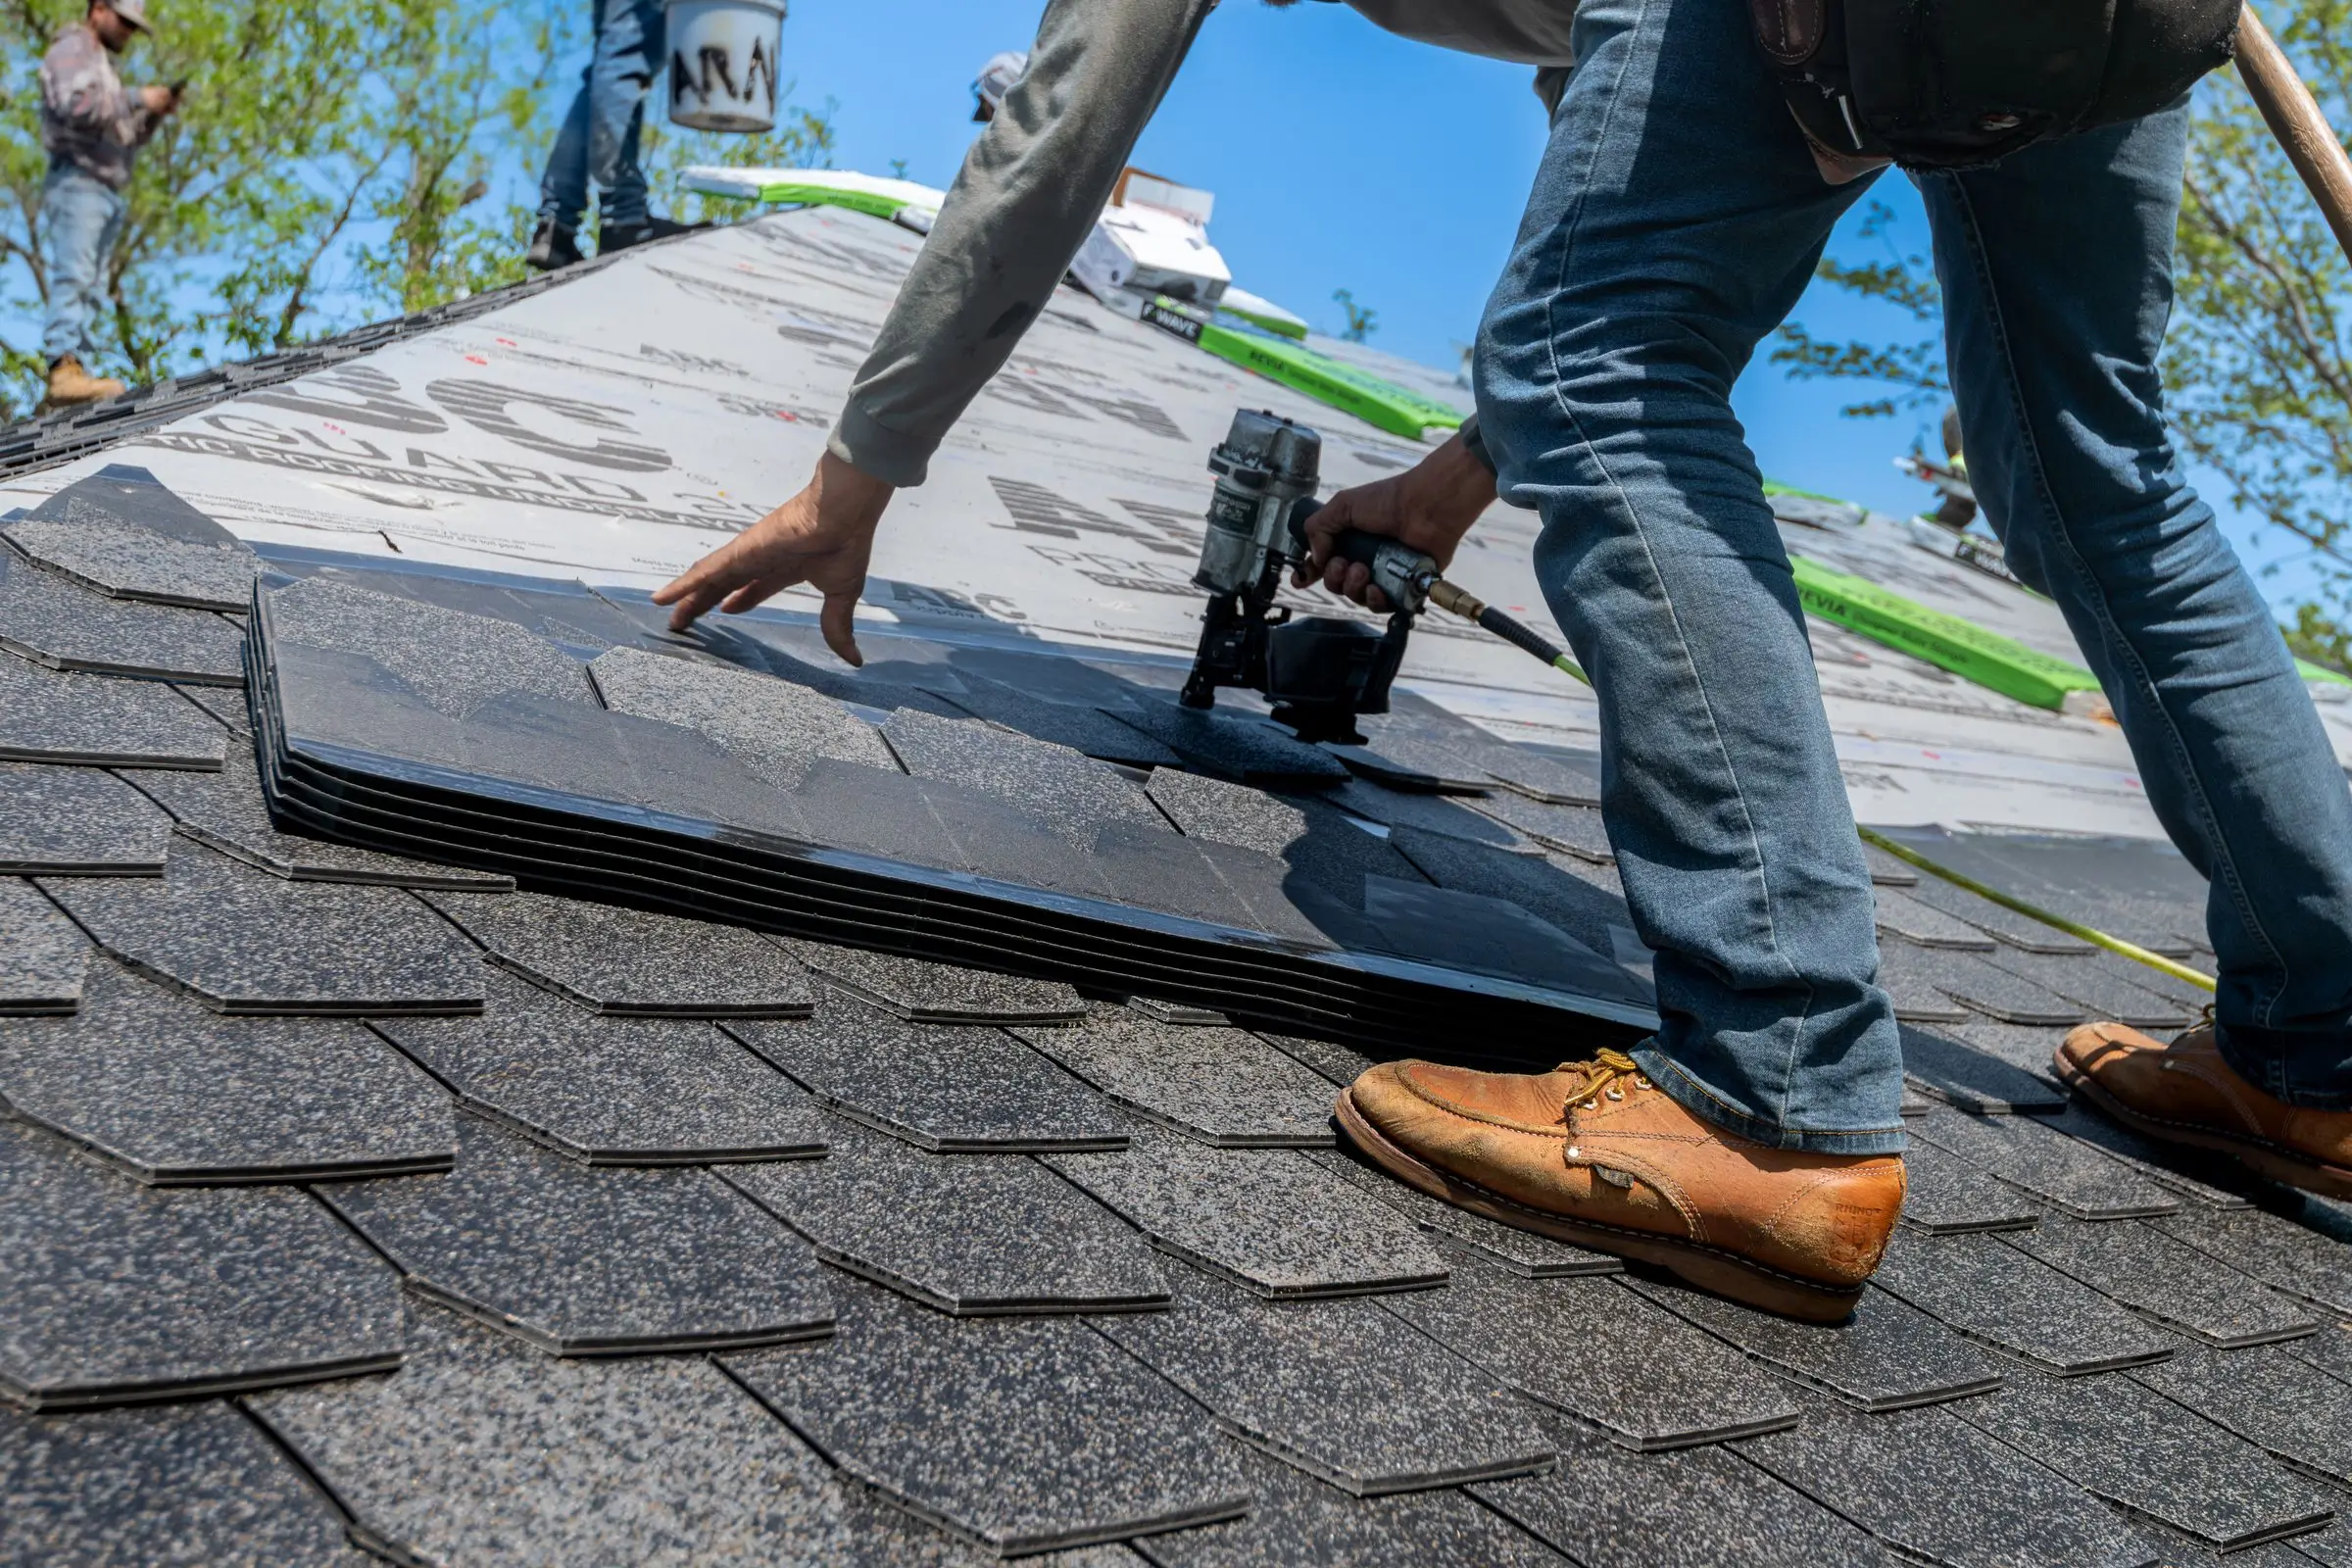
Shingle roof replacement in Toronto should be planned from the deck outward: confirm removal assumptions, establish how concealed deck conditions will be handled, specify underlayment and eave or valley treatment, integrate wall and penetration flashing, install the asphalt-shingle field, and connect ventilation and drainage. The finished colour matters, but the layers covered before the final course determine whether the scope is complete.
King Roofing & Construction installs and replaces asphalt-shingle roofs for Toronto-area homes. Its published pages identify underlayment, fastening, flashing, valleys, penetrations, eaves, ventilation, gutters and downspouts as parts of the system. The website does not list shingle brands or fixed material specifications; project documents should name the actual products selected.
Identify main house, garage, porch and addition planes. State assumptions about existing layers and the process if removal reveals something different.
Record any discovered condition on the roof map. Explain how it affects fastening, underlayment or the planned detail before changing the scope.
Describe the system proposed at slopes, eaves, valleys and transitions using the verified project specification.
List walls, chimneys, plumbing vents and other penetrations. Separate roofing flashing from masonry, siding or equipment work outside the contract.
Follow the approved product and installation requirements across the mapped roof planes, with clear ridge, rake and eave boundaries.
Review roof exhaust, soffit intake context, gutters and downspouts so the finished surface belongs to a functioning assembly.
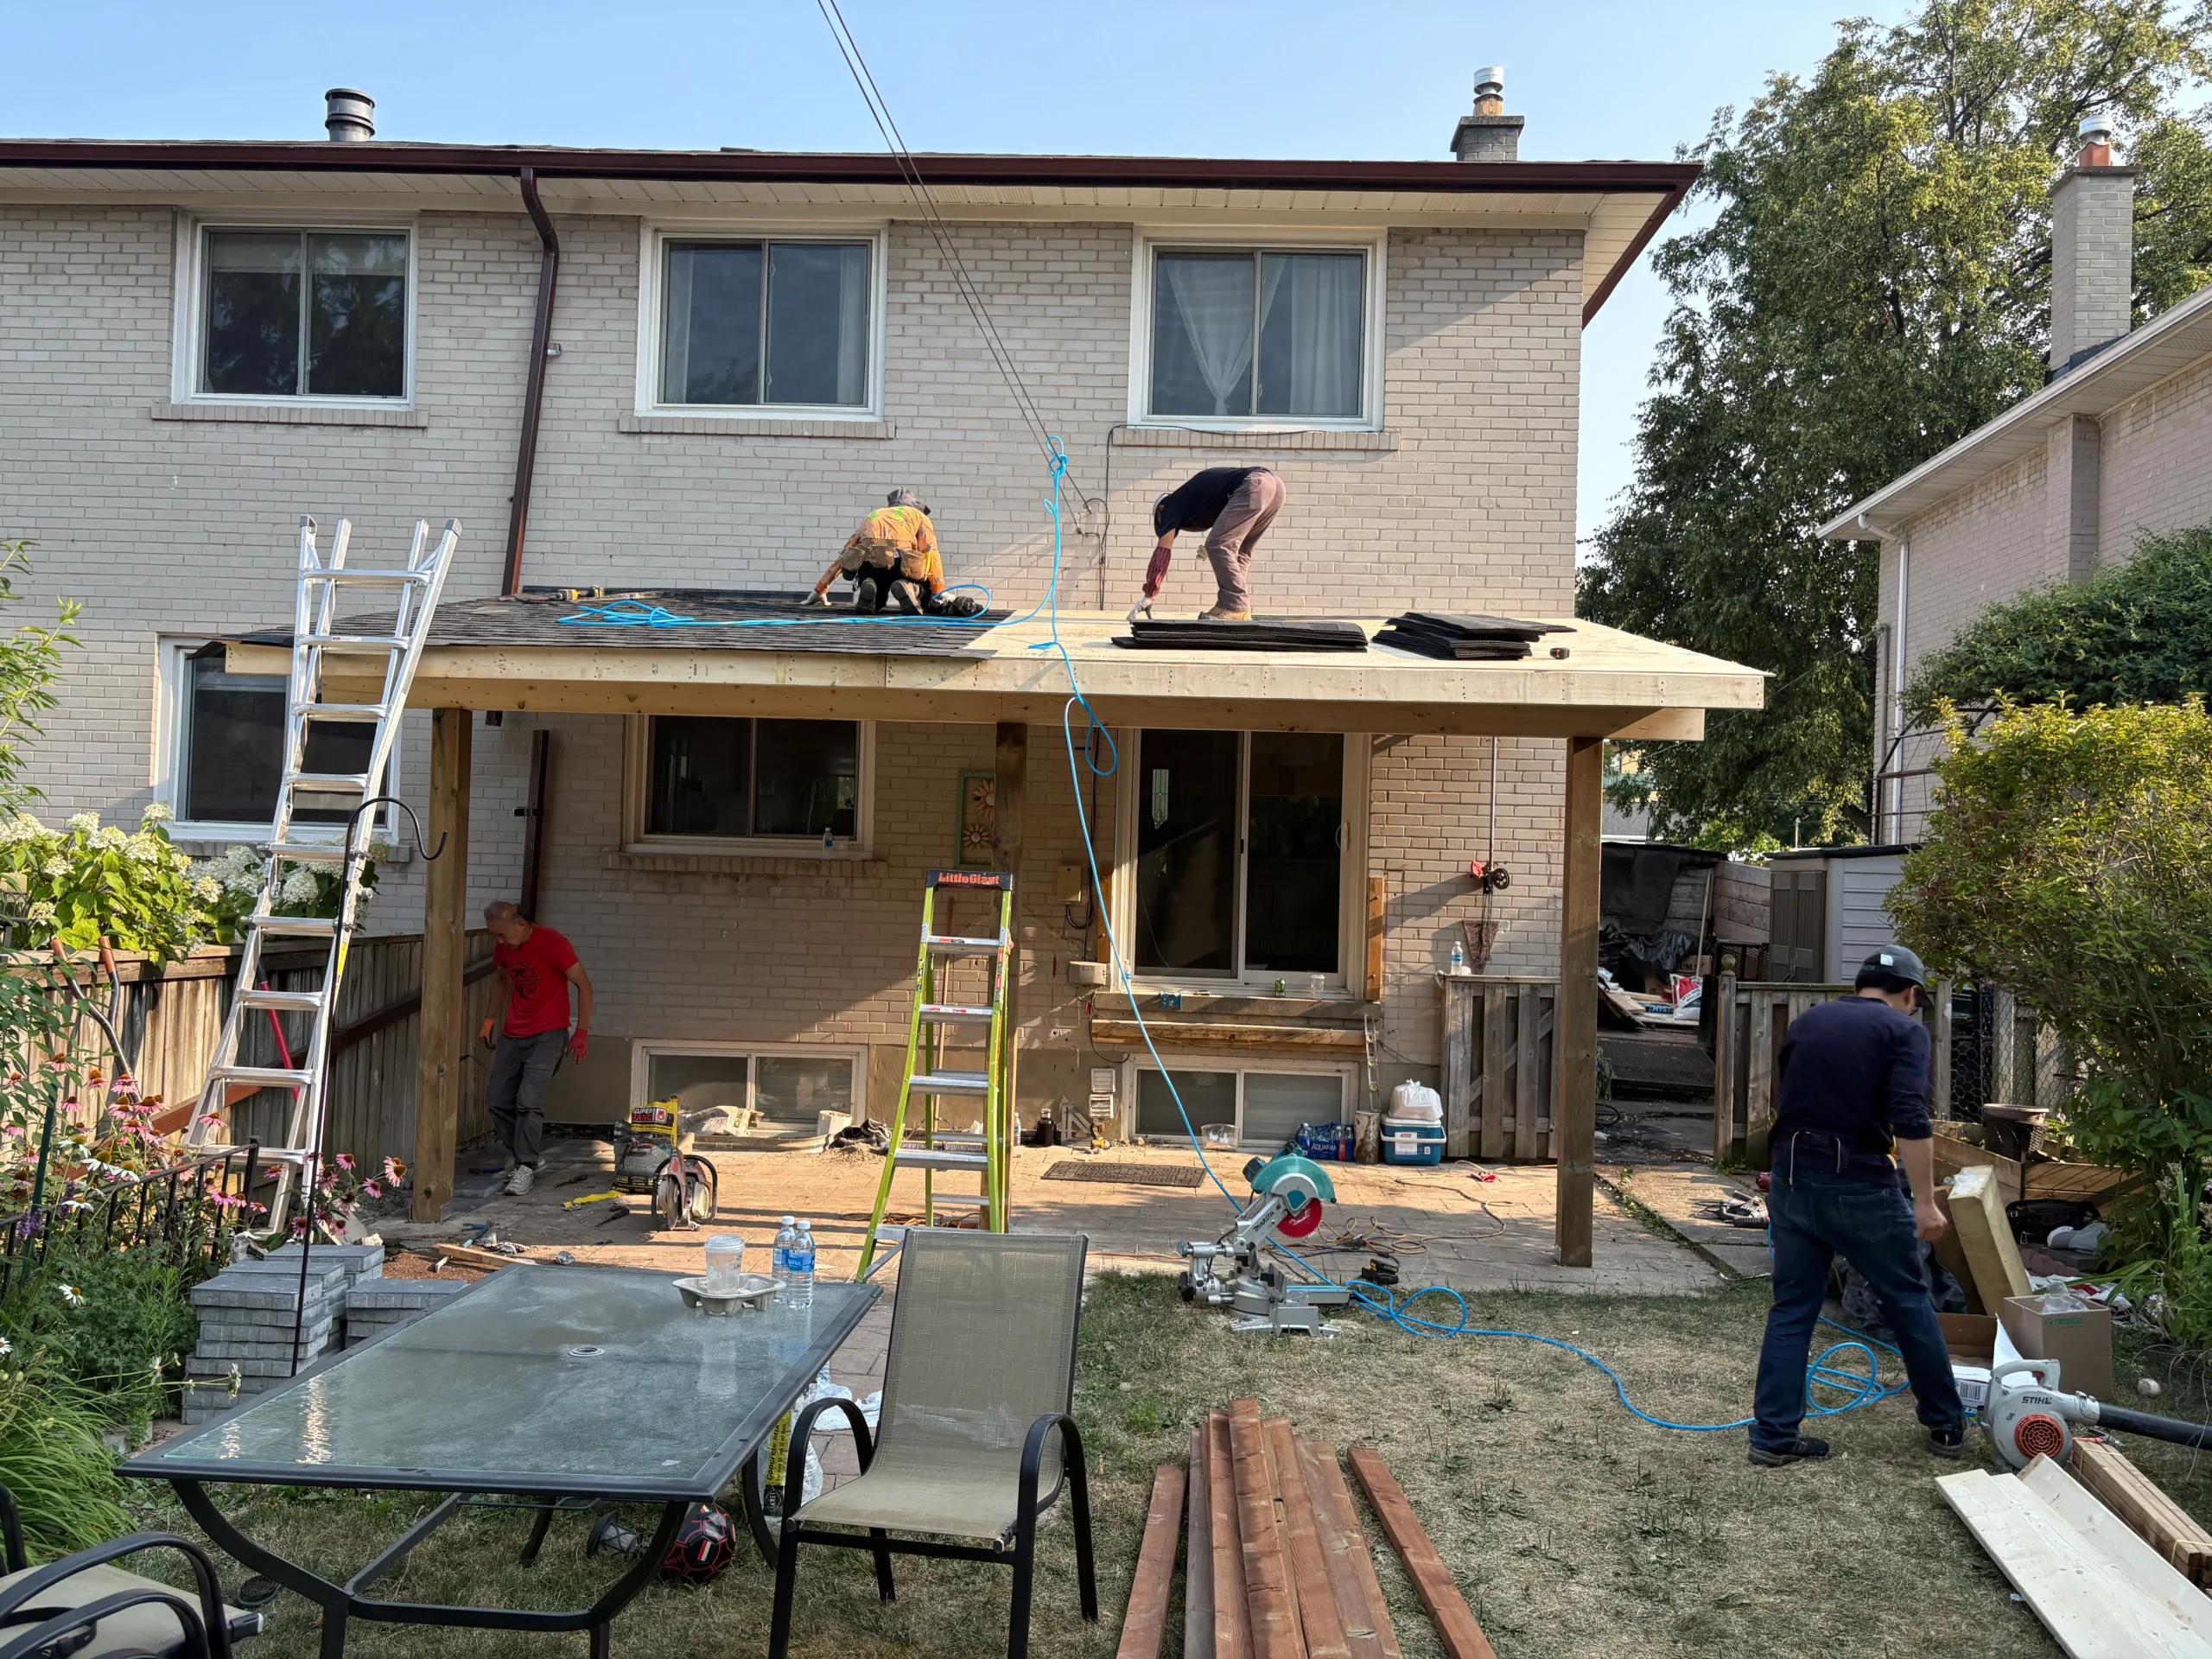
Two proposals can differ before new material is selected. One may assume a particular number of existing layers; another may state that the condition is unknown. One may include an attached garage while another excludes it. Compare removal by roof plane and note how material disposal and property protection follow from that boundary.
Removal can reveal deck conditions that were not visible during inspection. The agreement should identify who documents the location, how pricing is presented and who approves a revision. Use a wider context photo and detail image. A generic statement that “wood is extra” does not tell the owner which slope or why the change affects the installation.
A valley receives water from two slopes and can concentrate runoff toward a short eave section. A wall or dormer interrupts the shingle field and requires flashing that returns water to the surface. Replacement should name these junctions before material ordering and show whether adjoining siding or exterior finishes need temporary access.
| Junction | Replacement decision | Completion evidence |
|---|---|---|
| Valley | How underlayment, valley detail and shingles from both slopes integrate | Context view plus in-progress detail before coverage |
| Dormer wall | Flashing length, corners and siding access boundary | Labelled wall location and finished shingle transition |
| Plumbing or exhaust penetration | Complete flashing detail and responsibility for the non-roof component | Wider roof-plane location plus close finished detail |
| Eave | Underlayment edge, shingle termination and gutter handling | Roof edge and receiving drainage section |
A rear addition or porch may have insufficient slope for the same shingle assembly as the main roof. Identify its material and drainage separately. If retained, specify the transition to the new shingle work. If included, write a flat or low-slope system scope with its own perimeters, penetrations and outlet path.
Pitch conflict: The main house has steep shingle slopes, while a rear extension appears almost flat from the yard. One proposal describes shingles across “all roofs.” Before approval, the contractor should confirm the low-slope section and replace that generic line with system-specific work for each area.
The approved project documentation should identify the shingle and applicable installation requirements. Fastening should be planned for that product, roof geometry and exposed deck condition rather than summarized as “standard.” The homeowner does not need to design the pattern, but should retain documents that identify what was installed.
In-progress evidence can show representative course and detail work without pretending to record every fastener. If deck repair changes the intended substrate in one area, note the location and how the installation proceeds there. That keeps the construction record tied to the physical roof.
Roof replacement may involve existing exhaust vents, ridge details or new components included in the scope. The contractor should also recognize the intake path at soffits and the attic configuration. Additions or blocked spaces can separate air routes even when the roof appears continuous from outside.
Natural Resources Canada notes that attic performance involves air leakage, insulation and ventilation. A roofer should describe the roofing components provided and avoid promising that changing a vent count will resolve every moisture or temperature concern. If another building-envelope review is appropriate, preserve that distinction.
At the eave, the new shingle and underlayment details meet gutters, fascia and soffit. The proposal should state whether gutters remain, are handled temporarily or are included in separate work. Valleys can concentrate large flows at one gutter segment, so the final review should connect that roof geometry to the receiving drainage.
Downspouts complete the exterior route. If discharge changes are proposed, check the property and Toronto guidance rather than redirecting water casually. A roof replacement can restore the upper water-shedding system while a separate drainage decision remains below.
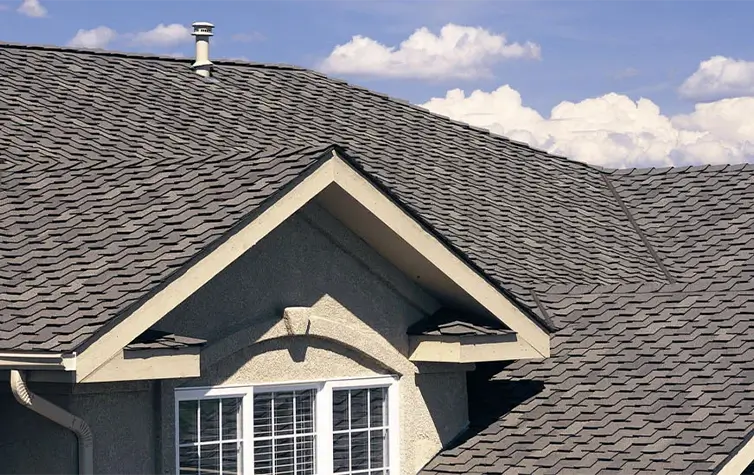
Use one sheet for included slopes, removal, deck-change process, underlayment, valleys, walls, penetrations, shingle product, ventilation interfaces, gutter handling, property protection, disposal and completion records. Place colour and appearance beside the product line, not above the component scope.
Ask each contractor to mark exclusions. A garage, porch or flat addition can disappear from a verbal “whole house” description. Existing flashing may be retained in one proposal and renewed in another. Those choices require explanation before total prices become comparable.
The front slope may sit above the driveway and main entrance; the rear slope may sit above a garden and addition. Plan material and removal routes for each. Identify neighbouring boundaries, pets and family schedules. Weather-aware work should include protected stopping points and a clear update method.
During the final walk, revisit those ground areas along with the roof. Then review labelled images of concealed stages and visible completion. This connects property protection and roof construction to the same slope labels.
Store removal assumptions, deck changes, underlayment and junction images, product documents, final scope and completion record. A future inspection can locate the front valley, east dormer or rear addition transition without guessing what lies below the finish. The record should also identify retained roof sections and their separate histories.
A later maintenance visit can review gutters, valleys, penetrations and ventilation interfaces named in the replacement. It should not claim to inspect concealed layers that remain covered. Good documentation allows those limits to stay clear.
Rain, wind, cold conditions and sudden forecast changes influence removal and installation sequencing. The contractor should plan roof areas that can be protected at practical stopping points. Homeowners should receive schedule updates without pressuring the crew to open a larger area simply to stay on a calendar.
Cold-weather appearance such as frost or snow can also hide surface conditions. Do not treat a winter photo as a complete pre-replacement assessment, and do not climb to remove snow for inspection. When safe access becomes possible, confirm the slopes, valleys and eaves that were obscured.
The contractor is responsible for handling products appropriately and protecting them before installation. The homeowner can confirm where deliveries are staged and how the driveway or property will be used. Do not infer storage limits or installation temperatures from a different product; rely on the documentation for the selected shingle and related materials.
A multi-gable home can have short slopes, intersecting valleys, dormer cheeks and several ridge or hip lines. The replacement map should label them so removal, underlayment and shingle installation proceed as one coherent geometry. A proposal that prices only area without naming the junctions leaves the most detailed parts unclear.
During installation, progress records can capture representative valleys and wall transitions before they are covered. At completion, a wider image should show how those details sit within the finished gables. This is more informative than many close-ups that cannot be located.
Routine roof-covering work and projects involving structural alteration are not the same. Toronto’s permit guidance should be checked against the real project, especially if deck replacement expands, framing is altered, a roofline changes or other building work is combined. The article cannot decide that question without the property scope.
If permit or design coordination applies, identify who is responsible and do not bury it in a generic roofing allowance. Product installation remains one part of a project that may have additional municipal or professional requirements.
The homeowner does not need to access the roof. A contractor can provide labelled images of representative underlayment, valley, wall and penetration details when those stages are complete. The record should distinguish examples from complete coverage and should note any approved deviation.
This midpoint evidence makes the final review stronger because concealed work can be related to the visible roof planes. If an image shows the west dormer flashing, its label should remain west dormer in the final record. Consistent location names are a simple way to preserve construction history.
At completion, view the shingle field, ridge and edges from normal ground positions and compare the finish with the approved product expectations. Natural variation and lighting can affect appearance. Raise any specific observation by roof plane rather than relying on a broad statement that the roof “looks different.”
Then review gutters, ground cleanup and retained sections. A good visual finish should accompany a component record that shows the hidden layers and junctions. Neither appearance nor documentation should substitute for the other.
Store the wider finished views beside the in-progress detail images so a future reviewer can locate each concealed layer record on the actual roof plane.
Shingle roof replacement Toronto projects should make the hidden work visible through written component boundaries and labelled in-progress records. The homeowner should know how removal, deck decisions, underlayment, flashing, shingles, ventilation and drainage fit the actual roof geometry before colour becomes the only memorable detail.
For overall project boundaries, read the Toronto roof replacement scope guide. Homeowners with additions can use the house-history replacement plan. To understand the system after installation, continue with the asphalt shingle roofing explainer and King Roofing’s residential service information.

